
Most WooCommerce store owners spend a lot of energy optimizing checkout — faster forms, fewer steps, smarter upsells. All of that matters. But there’s a conversion problem that happens earlier: customers who don’t fully understand or trust your product never make it to checkout at all.
Product demo videos fix that. They answer the questions a product photo can’t — what does this actually do, how does it work, what will I get when I open the box. And the data backs this up: according to Wyzowl’s State of Video Marketing report, 89% of consumers say watching a product video has directly convinced them to make a purchase.
The reason most WooCommerce stores don’t have them isn’t strategy — it’s time. Creating a polished product video used to mean scripting, recording, voicing, and editing. That’s hours per product. This article shows you a faster way, and the types of demo videos that actually move sales for WooCommerce stores specifically.
Why product demo videos work at the conversion stage
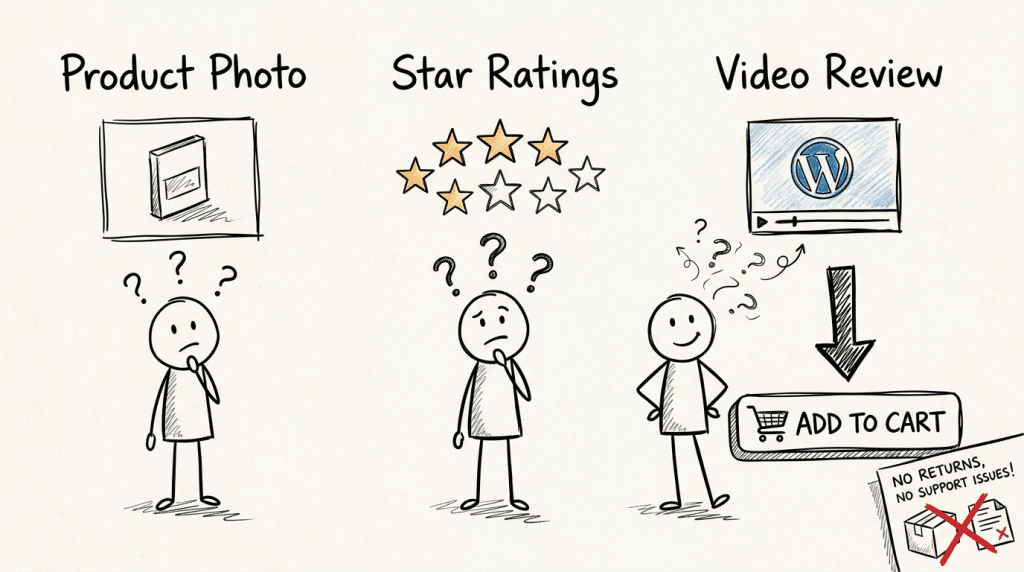
A product page has one job: reduce uncertainty fast enough that the customer clicks “Add to Cart.” Images do some of that work. Reviews do more. But video does something neither can — it shows the product in motion, in context, doing what it’s supposed to do.
For digital products, software tools, or anything with a learning curve, video is especially critical. A customer who’s unsure whether your product fits their situation will not buy it. A 60-second demo that shows exactly what they’ll get — and how quickly they can use it — removes that doubt.
There’s also a secondary benefit: customers who buy with a clear understanding of what they’re getting return less often and send fewer support messages. That’s a post-purchase win that compounds over time.
5 types of product demo videos that work on WooCommerce product pages
Not all demo videos are the same. These are the formats that drive results for online stores, ranked from most to least universally applicable.
1. The product walkthrough
The most versatile format. You show the product — what it looks like, what it includes, what you can do with it — narrated clearly without a sales script. For physical products, this might be an unboxing-style walkthrough. For digital products or software, it’s a screen recording of the actual interface.
This is the one video every product page should have.
2. The “how it works” demo
Particularly effective for tools, plugins, apps, or any product with a setup or workflow. You show the product doing its thing — not just what it is, but how it solves the specific problem your buyer has. Keep this under 90 seconds. The goal isn’t to teach everything; it’s to answer “can I actually use this?”
3. The results demo
Show the before and the after. What does a WooCommerce checkout look like before SellKit, and what does it look like after? What does a website look like before and after your theme? Results demos are strong for products where the outcome is visual and measurable.
4. The tutorial snippet
A short “first 5 minutes” walkthrough that shows the setup or onboarding experience. This is particularly useful for software products where customers worry about the learning curve. Showing that setup takes 3 minutes removes a major objection before it forms.
5. The FAQ demo
Pick the single most common question you get before purchase — “Does this work with X?” “Can I customize Y?” — and answer it on screen. One question, one clear answer, 60 seconds. These are easy to produce and address the exact hesitation that’s stopping the sale.
How to create these videos without a production budget
Here’s where most WooCommerce stores give up: producing videos looks expensive and time-consuming. It doesn’t have to be.
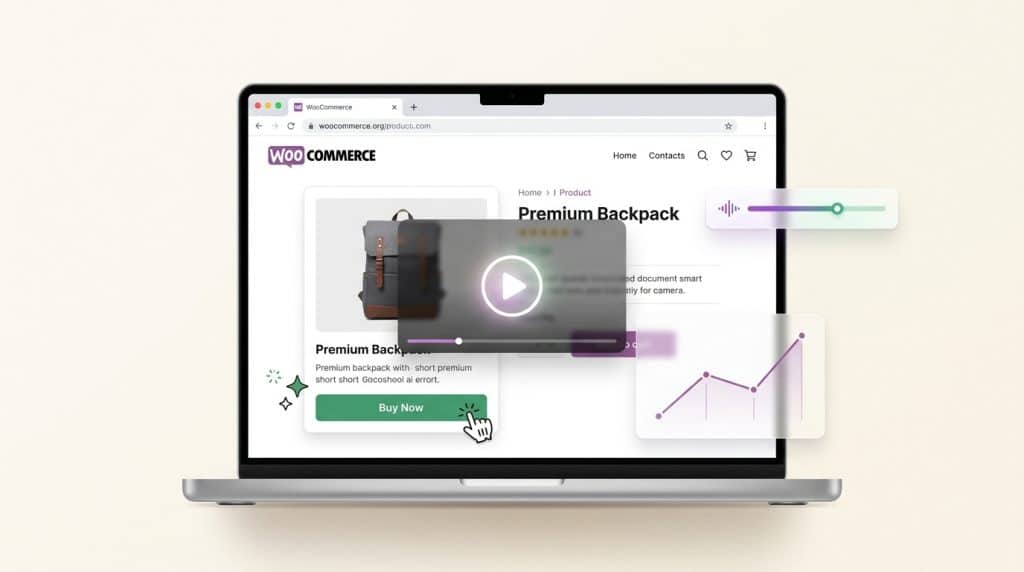
For any product that involves a screen — software, plugins, digital downloads, online services — the workflow is straightforward using Clevera’s product demo generator. You open the Clevera desktop app, hit record, and walk through your product as you normally would. Clevera captures everything on screen, then automatically generates a voiceover script based on your actions, applies a professional AI narration, and produces a finished video. No scripting beforehand, no editing after.
For a typical “how it works” or walkthrough demo, the whole process takes around 10-15 minutes per video. You record once, Clevera handles the production. The output is embeddable anywhere — directly into your WooCommerce product page, your landing pages, or your email sequences.
For physical products, a simple smartphone recording with a tripod works fine as a starting point. The priority is clarity over production value — customers need to see the product clearly, not watch a cinematic ad.
Here is a quick guide to use Clevera:
Where to place demo videos on your WooCommerce product pages
Placement matters as much as the video itself. These are the spots that drive the most impact:
Above the fold, in the image gallery. Most WooCommerce themes let you add video thumbnails alongside product images. Put it first. Buyers who click play within the first 5 seconds of landing on a product page are significantly more likely to convert.
Below the product description, before the reviews. For longer or more complex products, a second placement here catches buyers who are still in “convince me” mode after reading the description.
In the product short description. A line like “See it in action:” followed by an embedded video or a link to a demo keeps it lightweight and direct.
In automated email flows. If you’re using cart abandonment emails or post-purchase sequences, embedding a short product demo video in those emails reinforces the decision. A customer who abandoned their cart is more likely to return after seeing the product in action.
Pairing demo videos with checkout optimization
Demo videos solve the pre-checkout conversion problem. Once a customer clicks “Add to Cart,” that’s where SellKit takes over — optimized one-page checkouts, order bumps, upsell flows, and smart coupons that increase order value without friction.
These two work together as a full conversion stack. A demo video gets the customer confident enough to add to cart. SellKit’s checkout keeps them moving through the funnel, with fewer drop-offs and higher average order value.
If you’re already running SellKit’s checkout optimization and want to compound those gains, the product page is the next highest-leverage place to invest. Getting more customers to the checkout — with higher intent — multiplies the impact of everything SellKit does downstream.
What to build first
If you’re starting from scratch, don’t try to create videos for every product at once. Pick the 3 products with the highest traffic but the lowest conversion rate. Those are the pages where customers are interested but something is stopping them. A clear, narrated product demo is often exactly what closes that gap.
Build 3 videos, embed them, and measure the conversion rate over 30 days against your baseline. The results will tell you how aggressively to expand the approach across the rest of your catalog.
A good customer onboarding experience doesn’t start after the purchase — it starts the moment a customer lands on your product page. The more clearly you show them what they’re buying and how it works, the faster they make the decision, and the happier they are after they do.
